Shared folders become much easier to use the moment they stop feeling like secret locations.
That is usually the beginner problem.
The folder exists on another PC, a NAS, or a shared device on the network, but reaching it still feels strangely indirect. Someone gives you a path like \\computername\sharedfolder, you type it in, it works, and then later you need it again and the whole thing feels like a trick you are supposed to remember perfectly.
Mapping a network drive is what makes that stop feeling temporary.
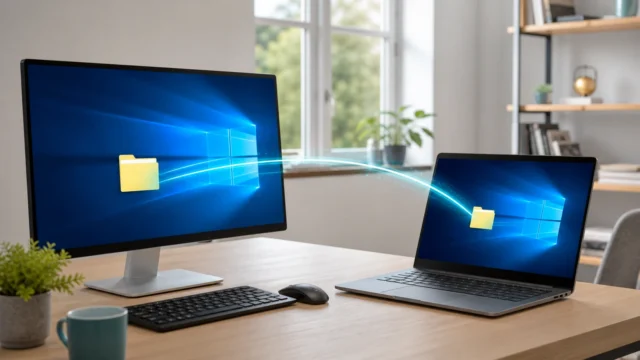
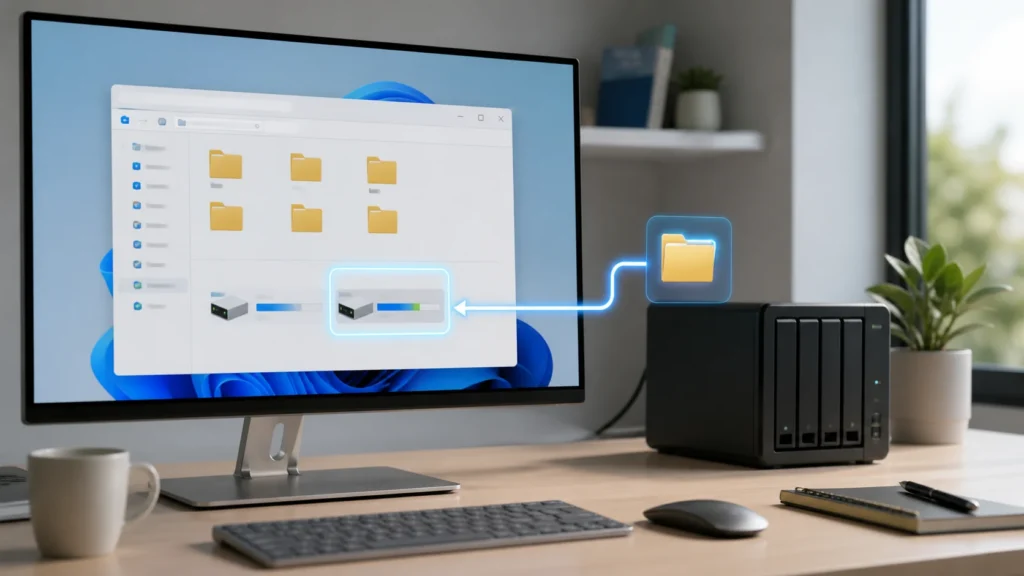
Instead of revisiting a network path every time, Windows can give that shared location a drive letter and place it inside File Explorer like a more familiar part of the machine. That does not change what the folder is. It changes how easy it is to live with.
- What a mapped network drive actually is
- Why it helps beginners more than it sounds
- How to map a network drive in Windows step by step
- What to check if it does not connect
- How I think about mapped drives in daily Windows use
The steps and terminology below are checked against Microsoft's official support guide; menu names and behavior can vary by operating-system release and hardware.
A mapped network drive is just a shared folder that Windows agrees to remember more clearly
I think that is the least intimidating way to explain it.
According to Microsoft’s file-sharing documentation, mapping a network drive lets you get to a network location from File Explorer without having to look for it or type its network address each time. That is really the whole beginner value in one sentence.
The folder is still on another machine or storage device.
The files are still being reached over the network.
But inside Windows, the location begins to behave more like a familiar drive entry instead of a destination you have to rediscover from scratch.
That matters because beginners are usually not struggling with the idea of shared storage itself.
They are struggling with consistency.
The real benefit is not speed alone. It is confidence
The first time someone uses a network path directly, it often works and still feels fragile.
There is always a little doubt:
- Did I type that path correctly?
- Was that the right computer name?
- Will I need to ask for it again later?
- Was this folder temporary, or is this where it always lives?
Mapping the drive answers those questions in a calmer way.
It gives the shared location:
- a visible place in File Explorer;
- a drive letter that is easier to remember;
- a repeatable access path for documents, media, and shared work folders;
- an option to reconnect automatically when you sign in.
That last part is especially important. Microsoft notes that during the mapping process you can choose to reconnect at sign-in, which is one of those small options that turns a useful feature into a dependable habit.
How to map a network drive in Windows
Microsoft’s current Windows guidance is pleasantly direct here.
1. Open File Explorer
You can open File Explorer from the taskbar, the Start menu, or by pressing Windows key + E. That last shortcut is one of the reasons I like pairing this article with the broader idea of essential Windows shortcuts. File Explorer becomes the doorway for many beginner tasks.
2. Select This PC
In the left pane of File Explorer, select This PC.
Microsoft says that from there, in modern Windows, you can use the ribbon’s More menu and choose Map network drive. Microsoft also notes that if you do not see the command in the More menu, you can right-click the This PC item in the folder pane and find it there.
That is a useful detail because beginners often assume a missing button means the feature itself is unavailable.
3. Pick a drive letter
Choose a drive letter from the list.
Microsoft’s guidance is simple here too: any available letter will do. For most beginners, the best choice is not some advanced convention. It is just a free letter that helps the mapped location stand out clearly from local drives.
4. Enter the shared folder path
In the Folder box, type the network path of the shared folder, or use Browse to find the folder or computer.
This is the step that still depends on the share actually existing and your account being allowed to reach it. Mapping a drive does not create the share. It simply gives Windows a remembered path to an already shared location.
If someone gave you a share path, it will usually look something like:
\\computername\sharename
You do not need to memorize the pattern forever.
You only need the correct shared location once in order to map it.
5. Choose Reconnect at sign-in if you want the drive to return automatically
Microsoft explicitly includes this option in the mapping steps, and I think it is one of the most beginner-friendly parts of the whole feature.
If this is a folder you expect to use regularly, enabling reconnection usually makes the experience feel more natural. The shared location stops behaving like a one-time visit and starts behaving more like part of your normal file layout.
6. Select Finish
Once you click Finish, Windows attempts to connect.
If everything is set up correctly, the mapped location should appear in File Explorer under This PC like another drive entry.
That is the moment the feature becomes intuitive.
The share no longer feels abstract.
It feels placed.
If mapping fails, the problem is usually not the button you clicked
This is where beginners often lose confidence too quickly.
If Windows cannot connect, Microsoft says the target computer may be turned off or you may not have the correct permissions. That alone explains many failed attempts.
But Microsoft’s troubleshooting guidance for network sharing adds a few more useful checks:
- make sure both devices are on the same network;
- if you are using Wi-Fi, make sure the network profile is set to
Private; - turn on
Network discoveryandFile and printer sharing; - verify the shared folder was actually shared with the right people or with
Everyone, depending on the intended setup.
This matters because mapping a drive is the last step in the story, not the first one.
Before Windows can remember a shared folder cleanly, the network has to be willing to expose it.
A mapped drive does not replace permissions or sharing rules
I think this is the other important beginner distinction.
Mapping a network drive makes access easier.
It does not make access broader than it should be.
If you do not have permission to the share, mapping will not magically grant it.
If the folder is not being shared correctly, the drive letter will not solve the underlying issue.
Microsoft’s file-sharing documentation describes sharing the folder first by right-clicking it, using the sharing options, and selecting the people allowed to access it. That is the actual access control layer.
The mapped drive is the convenience layer that sits on top of it.
That is why I like the feature so much.
It stays modest.
It does not try to be smarter than the network.
It just makes a working share easier to return to.
If the share path, permissions, or network visibility are wrong, mapping will not repair them. It works best when the shared folder is already reachable and simply needs a clearer place inside Windows.
Why this still matters in a very old-fashioned Windows way
There is something almost classic about mapped drives.
They belong to an older Windows habit of making resources feel local even when they were not. In that sense, they carry a little of the same spirit you can still feel in older eras of the platform, including the more place-oriented feeling described in the Windows XP era. The interface tries to reduce cognitive distance, not only technical distance.
And honestly, that still works.
Most beginners do not want a lecture on UNC paths.
They want the folder to show up where it makes sense.
A mapped share is much more reliable when the NAS keeps a predictable address. The guide to static IPs, DHCP reservations, and leases explains the cleanest way to provide that stability without hard-coding every device.
Conclusion
Mapping a network drive in Windows is useful because it turns a shared folder into a more familiar destination inside File Explorer. The files still live on another machine or storage device, but Windows gives that location a drive letter and a more stable place in daily use. For beginners, that removes a surprising amount of friction.
What I like most about mapped drives is that they make file sharing feel less like remembering a trick and more like using a normal part of the PC. As long as the share exists, permissions are correct, and the network is configured to allow discovery and sharing, mapping the drive is one of the simplest ways to make shared storage feel easier to trust.
FAQ
What does mapping a network drive actually do?
It assigns a drive letter in Windows to a shared network location so you can reach that folder from File Explorer more easily without typing the network path every time.
Do I need the shared folder path before mapping the drive?
Usually yes. Microsoft says you can type the folder or computer path directly or use Browse to find it, but the share must already exist on the network.
What does Reconnect at sign-in mean?
It tells Windows to try reconnecting that mapped drive automatically each time you sign in, which is helpful for shared folders you use regularly.
Why can’t Windows connect to my mapped drive?
Common reasons include the target computer being off, the share not being available, missing permissions, disabled network discovery, or file-sharing settings that are not enabled on the network.
Is a mapped network drive the same as copying files to my PC?
No. The mapped drive is still a network location. Windows is simply presenting it in a more convenient way inside File Explorer.