Local Windows file sharing often feels harder than it sounds.
Not because the feature itself is especially complicated, but because beginners usually meet it halfway. The folder gets shared, but the other PC cannot see it. Or both computers are on the same Wi-Fi, but one of them still behaves as if the rest of the network does not exist. Or the shared folder works once, then later the path feels impossible to find again.
That is why I think local Windows sharing becomes much easier the moment you stop treating it like one button.
It is really two jobs:
- making the folder shareable;
- making the network discoverable enough for that share to be reached.
Once those two pieces are understood together, the whole process starts feeling much less mysterious.
- What local Windows file sharing actually depends on
- How to prepare the network the right way
- How to share a folder step by step
- What usually goes wrong
- How I think about sharing files on a home or small office LAN
The steps and terminology below are checked against Microsoft's official support guide; menu names and behavior can vary by operating-system release and hardware.
The shared folder is only half the story
This is the part that clears up most beginner confusion.
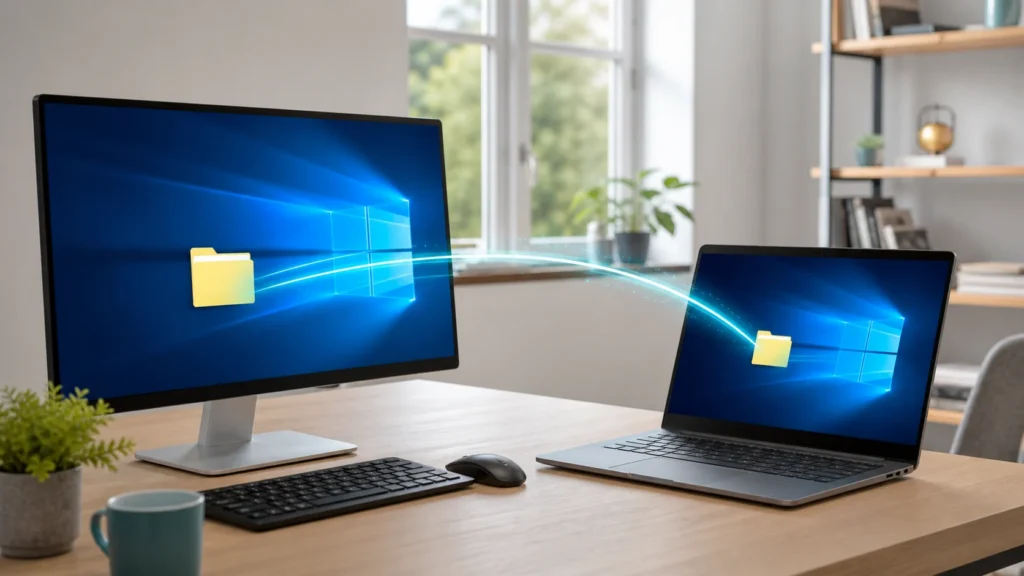
Microsoft’s file-sharing documentation focuses on local area network sharing between computers on the same home or work network. The guidance makes it clear that Windows sharing depends not only on the folder you want to share, but also on the network profile and advanced sharing settings around it.
That means a shared folder can exist and still feel invisible if:
- the network is not treated as
Private; - network discovery is turned off;
- file and printer sharing is turned off;
- permissions do not allow the other user to connect;
- the other machine is not actually reaching the same local network.
I think beginners often expect “shared” to mean “instantly visible everywhere.”
Windows is more cautious than that.
The first thing to check is whether the network is Private
Microsoft’s guidance says file sharing is best used on a Private network.
That matters because Windows treats Public and Private networks differently for safety reasons. On a public network, it makes sense to be less visible. At home or in a trusted office, that same invisibility gets in the way.
So before sharing the folder itself, I would check whether the PC is using a private network profile.
That one setting often explains why two nearby Windows machines feel disconnected even when they are technically online.
Turn on network discovery and file sharing before you expect the folder to behave normally
This is the second major piece.
Microsoft says to open Manage advanced sharing settings and then, under Private networks, turn on:
Network discoveryFile and printer sharing
Microsoft also notes that under All Networks, you can turn off password-protected sharing if that fits the way you want the local share to behave.
I think this is where the whole process becomes more intuitive.
Beginners often share the folder first and only later realize the network itself is still acting closed. But discovery settings are what allow other PCs to find the system more naturally in the first place.
Without them, the folder may technically be shared while still feeling hidden.
How to share a folder locally in Windows
Once the network side is ready, the folder-sharing part is much simpler.
Microsoft’s documentation describes the process in File Explorer like this:
1. Find the folder you want to share
Open File Explorer and go to the folder you want other people or PCs on the same network to access.
This is one reason I like connecting the topic to practical Windows file sharing. If you are comfortable opening File Explorer quickly and understanding where your folders live, local sharing already feels less intimidating.
2. Right-click the folder
Microsoft says to right-click, or press and hold, the folder and then choose the sharing option path for specific people.
In some versions of Windows that means using Show more options first and then selecting the share-related option for giving access to specific people.
That detail matters because beginners sometimes think Windows removed the feature when it is really just one menu layer deeper.
3. Choose who gets access
Microsoft’s sharing guidance says you can select people on the network to share the folder with, or choose Everyone if you want all users on that local network to have access.
This is the most important judgment call in the whole process.
Just because a share is local does not mean it should automatically be broad.
If the folder is meant only for a couple of trusted users, share it narrowly.
If it is a simple household media or exchange folder, broader sharing may be fine.
The key idea is intentionality.
4. Confirm the share
Once the people are selected, Windows completes the share and can provide a network path that other PCs can use.
That path is what makes the folder reachable from another machine.
And if you want the destination to feel even more stable afterward, this is where mapping it as a drive becomes useful, which is exactly why it connects so naturally to mapping a network drive in Windows.
If another PC still cannot see the share, the issue is usually around visibility or permissions
This is the part where people often assume something is broken when the setup is just incomplete.
Microsoft’s guidance points to a few common causes:
- the target PC is not on the same local network;
- the network profile is not
Private; Network discoveryis still off;File and printer sharingis still off;- the share was not given to the right person or group;
- the device hosting the folder is turned off or asleep.
That last one is easy to forget.
A share does not live in the air.
If the PC holding the folder is unavailable, the rest of the network cannot pretend otherwise.
Password-protected sharing changes how open or closed the experience feels
Microsoft includes password-protected sharing in the advanced sharing settings flow, and I think it is worth explaining in plain language.
When password-protected sharing is on, other people generally need a user account and password from the PC that hosts the shared folder. When it is off, access can be simpler in a trusted environment, depending on how the share itself was configured.
This is one of those settings where the right choice depends less on the feature and more on the environment.
At home, simplicity may matter more.
In a small office or any mixed-trust space, stronger account-based sharing often makes more sense.
The point is not to choose the most convenient setting automatically.
It is to know why the network is behaving the way it is.
A shared folder becomes much easier to manage when the PCs are on a private network, discovery is enabled, and the share is given only to the people who actually need it.
Sharing locally is really about making access predictable
This is what I keep coming back to with Windows basics.
The feature is not only about moving files.
It is about making the location of those files understandable to more than one machine.
Beginners do not usually need advanced file-serving theory.
They need a shared folder that other trusted PCs can actually find and use without ritual, guesswork, or reconfiguration every time.
Once Windows sharing is set up correctly, the whole experience starts to feel ordinary in the best possible way.
That is when it has finally become good.
Conclusion
Sharing files locally over a Windows network becomes much easier once you understand that the folder itself is only one part of the setup. The network should be marked as Private, discovery should be enabled, file sharing should be turned on, and the folder should be shared intentionally with the right people or with Everyone if that truly fits the environment.
What makes the feature feel difficult at first is that Windows protects visibility until you explicitly allow it. What makes it feel good later is that, once configured properly, file sharing becomes predictable. The shared folder stops feeling hidden and starts feeling like a normal part of the local network.
FAQ
Do both Windows PCs need to be on the same network?
Yes. Microsoft’s guidance for local network sharing assumes the devices are on the same home or work LAN so they can discover each other and reach the shared path directly.
Why can’t another PC see my shared folder?
The most common reasons are that the network is not set to Private, network discovery is off, file sharing is off, the share permissions are wrong, or the host PC is unavailable.
For additional context, see How to Map a Network Drive in Windows for Easy File Sharing and Why Total Commander Still Has a Cult Following Among Techies.